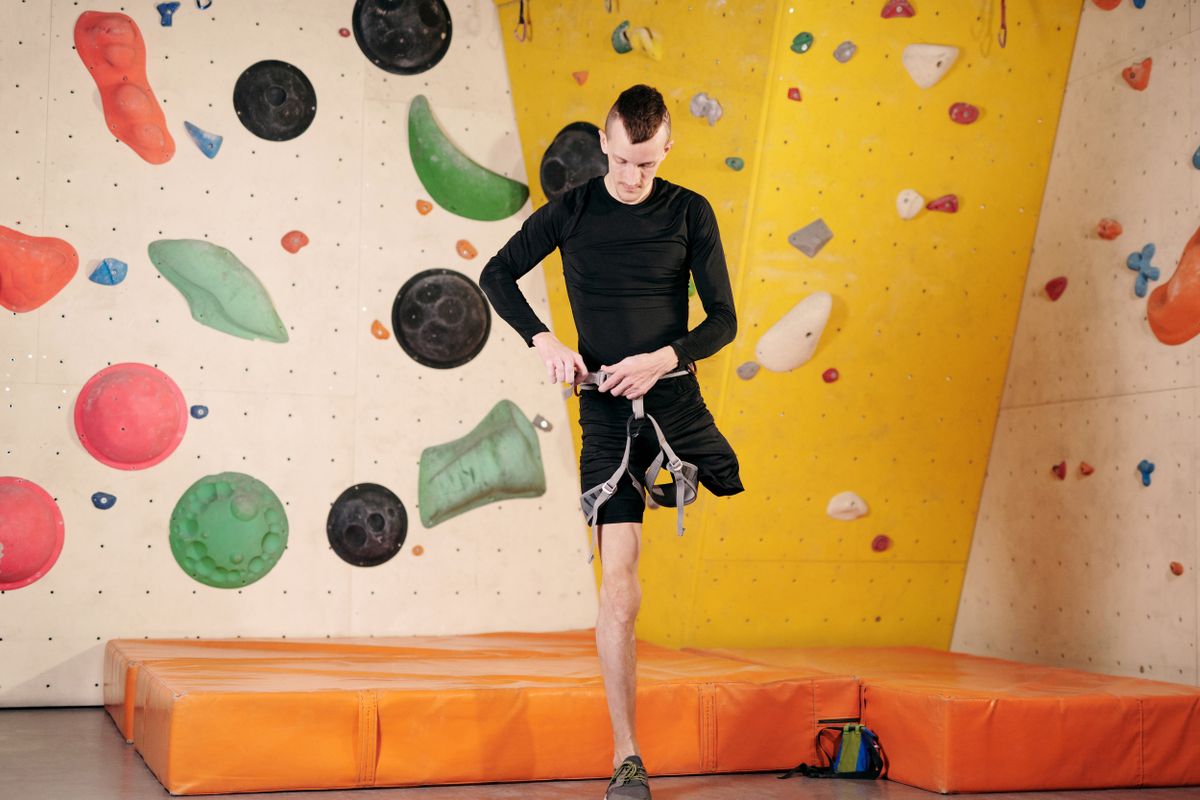
Outdoor Climbing Anchors: The Complete Guide to Safe Rigging 2026
Learn the technical standards for building bombproof outdoor climbing anchors using bolts, gear, and natural features to ensure your safety on every descent.

The Technical Reality of Outdoor Climbing Anchors
Your life depends on the quality of your outdoor climbing anchors and the physics of the system you build. Most climbers treat the anchor as a formality, a quick series of knots and carabiners before they rap or belay. This laziness is how accidents happen. An anchor is not just a place to clip in; it is the final fail safe of your entire climbing system. If your gear placements fail or your rope shreds, the anchor is the only thing preventing a ground fall. You need to stop thinking about anchors as a set of rules and start thinking about them as a redundant system where every single component is designed to survive the total failure of every other component. When you are rigging outdoor climbing anchors, you are managing forces. You are dealing with vectors, angles, and the material limits of nylon and steel. If you do not understand the difference between a static load and a dynamic shock load, you are gambling with your life.
The first principle of any anchor is redundancy. A single bolt or a single tree is a point of failure. In the world of outdoor climbing, one is none and two is one. You never trust a single piece of protection. Whether you are using permanent bolts or traditional gear, you must ensure that if one piece of equipment rips out of the rock, the remaining system can hold a full fall without shifting. This is where many intermediate climbers fail. They build an anchor that looks secure but lacks true redundancy because the pieces are too close together or the angles are too wide. You must evaluate the quality of the rock itself. A bolt in rotten limestone is not a bolt; it is a suggestion. You need to check for spinning bolts, cracked rock around the eyelet, and signs of corrosion. Your ability to critically analyze the environment is more important than the gear you carry.
Angle management is the most overlooked aspect of rigging outdoor climbing anchors. When you connect two pieces of protection with a sling, you create a vector. If those pieces are close together and the angle to the master point is narrow, the force on each piece is roughly half the load. However, as the angle between the two pieces widens, the force on each piece increases exponentially. Once you hit an angle of 120 degrees, each piece of gear is actually seeing more than 100 percent of the load. You are effectively multiplying the force on your gear by creating a wide angle. You should aim to keep your interior angles under 60 degrees whenever possible. This ensures a safe distribution of weight and prevents a single piece of gear from taking a catastrophic load that could pull it out of the rock. This is basic trigonometry applied to survival.
Building Bolted Anchors for Sport Climbing
Bolted anchors are the standard for most sport routes, but they are not infallible. The most common mistake in sport climbing is trusting a single bolt anchor without verifying its integrity. You must look for the presence of two independent bolts. If you encounter a single bolt anchor, you are in a high risk situation. You should either find a way to supplement the anchor with a piece of gear or accept that you are relying on a single point of failure. When rigging outdoor climbing anchors at a bolted station, the goal is to create an equalized master point. Using a locking carabiner and a properly rated sling, you want to ensure that the load is shared across both bolts. Many climbers use a simple overhand knot or a figure eight to create a master point, which is a reliable way to keep the system from shifting.
The concept of the master point is central to safety. The master point is the single loop or ring where the belayer and the climber clip in. By concentrating the load at one point, you simplify the system and make it easier to inspect. If you are using a pre-installed chain or webbing anchor, you must check for wear and tear. UV degradation from the sun can turn a strong piece of webbing into a ribbon of useless plastic. If the webbing looks faded or feels brittle, do not trust it. You should replace it with your own sling or find an alternative. Remember that the strength of the anchor is only as good as the weakest link. If you have two 20kN bolts but you use a cheap, unrated piece of string to connect them, your system is rated for the strength of that string.
When descending from a bolted anchor, you must be mindful of the rope's interaction with the hardware. Rubbing the rope over a sharp edge of a bolt hanger can cause core damage over time. While a single rap might not shred your rope, repeated use of poor anchors creates a liability for everyone who follows. Use a locking carabiner at the master point and ensure the rope runs cleanly through it. If you are belaying a second from a bolted anchor, ensure your belay device is positioned to minimize rope drag and maximize efficiency. The transition from climbing to belaying at the anchor is where most communication errors occur. Be explicit with your partner. Confirm that you are locked in before they leave the rock. Never assume the anchor is safe just because it was there when you arrived.
Traditional Gear and Natural Anchors
Trad climbing requires a much higher level of competence when building outdoor climbing anchors. You cannot rely on a permanent bolt; you must create your own security using cams, nuts, and natural features. The gold standard for trad anchors is the SRENE principle: Strong, Redundant, Equalized, Non-extending. Strong means every piece of gear is placed in solid rock and oriented to resist the direction of the pull. Redundant means you have at least three pieces of gear if the placements are questionable. Equalized means the load is shared across all pieces. Non-extending means that if one piece fails, the anchor does not drop or shift violently, which could shock load the remaining pieces.
Finding a strong tree for an anchor is a common practice, but you must evaluate the tree's diameter and health. A tree should be at least six inches in diameter to be considered a reliable anchor for a climbing team. Avoid dead trees or trees with significant rot. When wrapping a tree, use a wide sling to distribute the pressure and avoid girdling the tree. The wrap should be as high as possible to prevent the rope from rubbing against the bark. If you are using a tree in combination with other pieces of gear, remember that trees are slightly elastic. This elasticity can cause the load to shift between your gear and the tree, which is why a non-extending configuration is critical. You do not want a sudden jolt to rip out a small nut because the tree shifted a few inches.
Using boulders or rock horns as anchors requires a deep understanding of the local geology. A rock horn might look solid, but it could be a flake that is prone to snapping under a lateral load. Always test the stability of a natural feature before relying on it. When rigging outdoor climbing anchors around a boulder, use a girth-hitched sling that is tightened securely. Ensure the sling is not rubbing against any sharp edges that could cut through the nylon. If the boulder is small, ensure it cannot shift or roll under the weight of a climber. The danger of natural anchors is their unpredictability. A bolt is a known quantity; a rock horn is a variable. You must treat every natural feature with skepticism.
Managing Ropes and Transitions at the Anchor
The moment you reach the anchor is the most dangerous part of the climb. This is where the adrenaline of the send meets the boredom of the rigging process, leading to critical mistakes. You must maintain a strict protocol for transitions. First, secure yourself to the anchor before removing any other gear. Never unclip from the rope until you are independently tied into the master point. This is the only way to ensure that a mistake in your rigging does not result in a fall. Many climbers make the mistake of clipping the rope into the anchor and then unclipping their safety, assuming the rope will hold them. If the rope slips or the knot is loose, you have zero backup.
When belaying a partner from outdoor climbing anchors, your positioning is key. You should be anchored in a way that allows you to move slightly to manage the rope without putting undue stress on the system. If you are using a guide-mode device, ensure it is attached directly to the master point. This allows the device to take the weight of the climber, reducing the physical effort required to belay and increasing safety. However, do not rely solely on the device. You must still maintain a proper belay grip and be ready to lock off the rope instantly. The transition from a lead belay to an anchor belay changes the dynamics of the system, and you must adjust your technique accordingly.
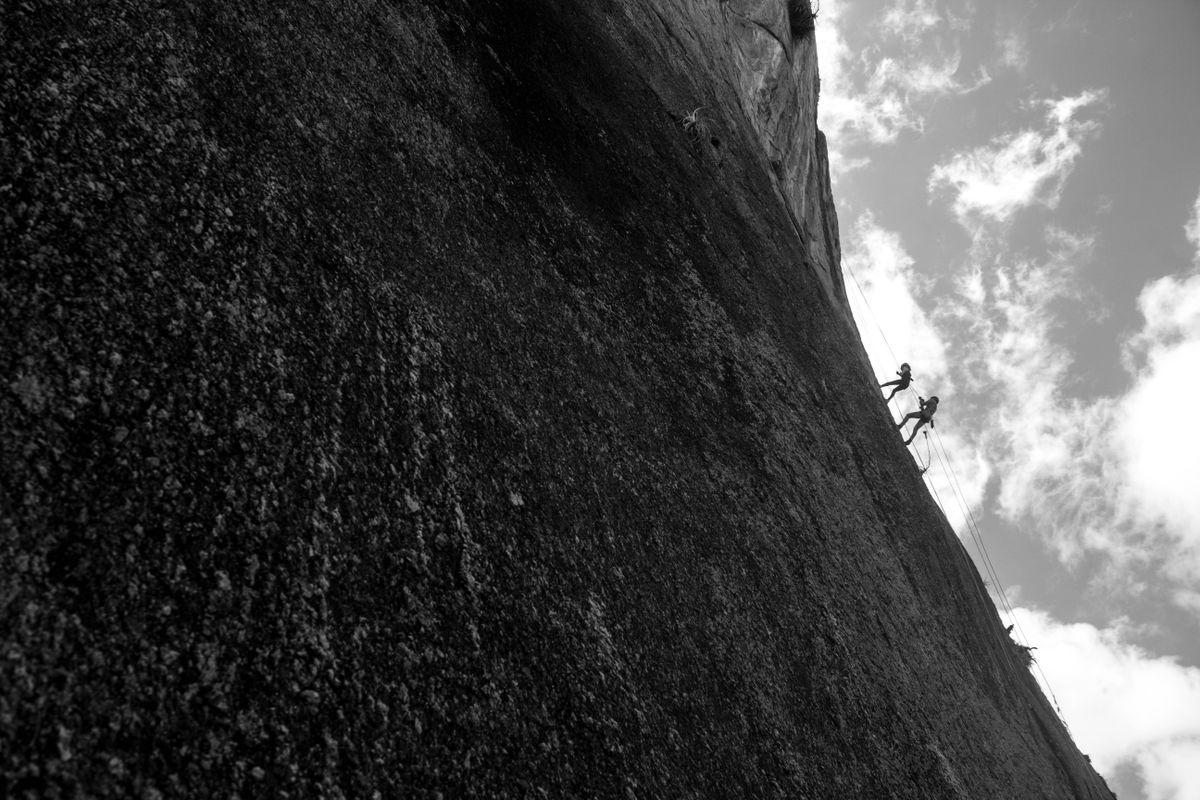
Rappelling from an anchor is where most catastrophic failures occur in the outdoors. The most common error is failing to double check the knot or forgetting to lock the carabiner. Before you put your weight on the rope, you must perform a physical check. Touch the locking sleeve of the carabiner. Visually confirm that the rope is threaded correctly through the device. Ensure that your backup knot is secure. If you are using a multi-pitch system, the process of rigging outdoor climbing anchors for a descent requires an even higher level of scrutiny. You are often tired, dehydrated, and eager to get off the wall. This is exactly when you forget to lock a carabiner. Slow down. The five seconds it takes to double check your gear is the difference between a successful trip and a rescue call.
Finally, consider the environmental impact of your anchors. In many areas, the use of permanent bolts is contested, and the preference is for clean climbing. When you build an anchor, leave it in a state that does not damage the rock or the surrounding ecosystem. Avoid chopping trees or carving notches into the rock. The goal is to leave the crag exactly as you found it, with the only evidence of your presence being the chalk on the holds. Professionalism in the outdoors is not just about your grade; it is about how you treat the environment and how you manage your risk. If you cannot build a safe, redundant anchor, you have no business being on a multi pitch route. Practice your rigging on the ground until it becomes muscle memory. When you are 100 feet in the air, you should not be guessing which knot to use. You should be executing a proven system with confidence and precision.