Reading Outdoor Rock: How to See the Beta Before You Pull
The difference between a climber who flashes and a climber who flails is not strength. It is the ability to read rock. Here is how to decode the stone before you leave the ground.

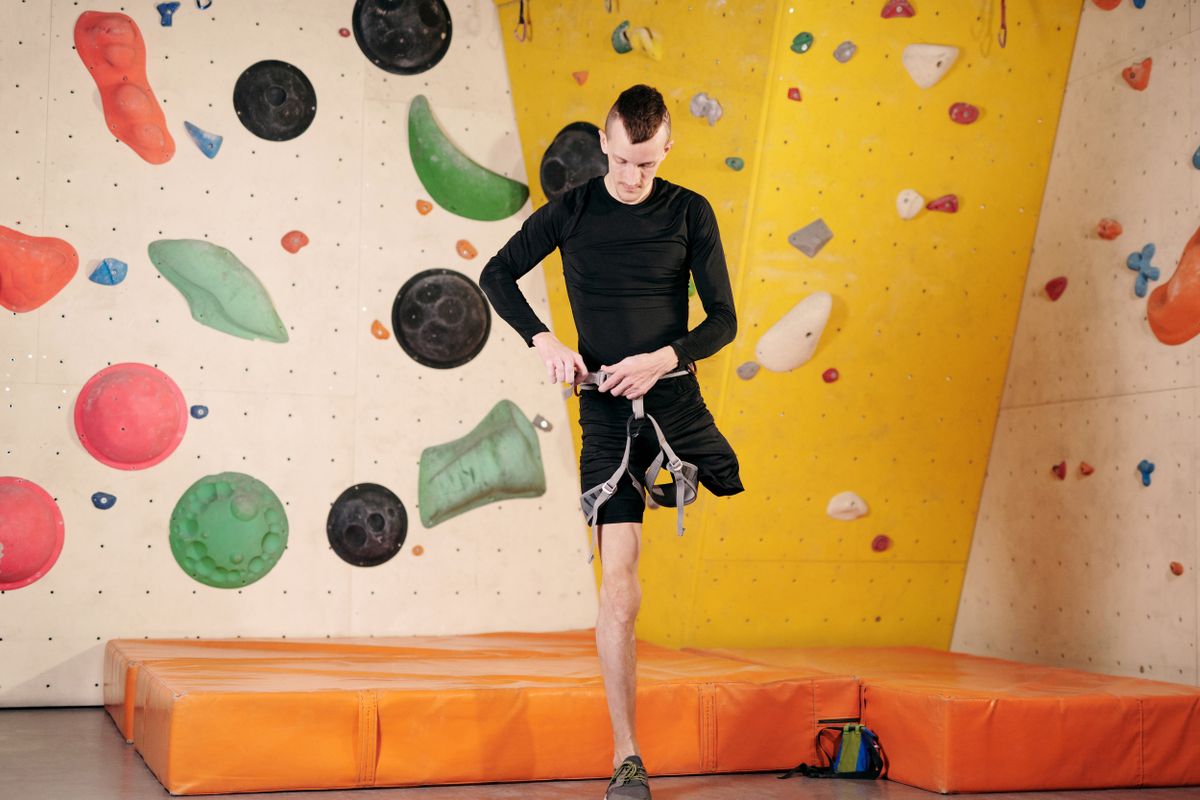
Photo: Line Knipst / Pexels
Why Most Climbers Climb Blind
Watch any experienced climber at the base of a route and you will see the same thing: they stand there, staring at the rock, sometimes for longer than they spend actually climbing. They are not daydreaming. They are reading. The wall is a map, and the holds, features, and angles are the language. Most climbers walk up to a route, look at it for ten seconds, and start pulling. Then they wonder why they get stuck three moves in, pumping out on sequences they could have figured out from the ground.
Reading rock is a learned skill, not a talent. It is pattern recognition built through deliberate practice. The climbers who seem to magically know where the holds are do not have better eyesight. They have better mental libraries of what holds look like from below, what body positions those holds imply, and how to link those positions into a sequence before touching the wall. This is the single biggest skill gap between indoor climbers and outdoor climbers, and no amount of hangboarding will close it.
The problem is compounded by gym climbing. Indoors, every hold is obvious. The holds are brightly colored, the sequences are set to be readable, and the wall angle tells you everything you need to know about the movement. Outdoors, the best hold on the route might be a thumb-sized crimp that looks like a shadow from the ground. The crux might be a hidden pocket you can only see from a specific angle. The rest might be a knee bar you would never find unless you knew to look for it. Outdoor reading is a different sport entirely.
The Ground-Up Protocol: Reading a Route From the Base
Before you touch the rock, run through this sequence. It takes two minutes and will save you from hours of frustration, wasted attempts, and pumped forearms.
Step one: identify the line. Most sport routes follow a logical path up the wall. Bolts are the clearest indicator. Even if you cannot see the holds, the bolt line tells you the general direction the route travels. Look for where the bolts go left, right, or straight up. These deviations mark the sequences. A bolt that moves left usually means the climbing moves left to reach it. A bolt that is far right of the previous one means there is a traverse or a big reach. The bolt line is your most reliable roadmap.
Step two: find the crux. Look for where the features change. A section of smooth wall between two sections of positive holds is probably the crux. A place where the angle steepens, where the holds get smaller, or where the bolt spacing gets tighter, all point to harder climbing. Identify this section first because it determines your strategy for the entire route. If the crux is low, you need to figure out the moves fresh. If it is high, you need to find the rests below it and arrive with maximum energy.
Step three: spot the rests. Rests on outdoor routes are not always obvious. A large ledge is easy to see. A rest where you can match hands on a good hold and shake out is visible from the ground. But the best rests on hard routes are often subtle: a heel hook that lets you drop one arm, a knee lock in a corner, a sidepull you can lean against to unload your biceps. Look for features that would let you get weight off your arms: corners, opposing holds, large features you can press your body against. Every rest you find from the ground is a move you do not have to do while pumped.
Step four: read the holds from below. This is where it gets hard and where experience matters most. A hold that looks like a sloper from the ground might actually be a positive incut when you get up close. A feature that looks like a jug might be a shallow two-finger pocket. Look for shadows and highlights. Direct sunlight flattens features and makes everything look worse. Shade reveals the true shape of holds. Tilt your head, move left and right, and look at the same feature from multiple angles. The hold will change shape depending on your viewing angle, and the correct angle is usually the one that makes the hold look best.
Step five: link the sequences. Now connect the holds into movement. Where are the feet? If you can see footholds, trace the path your feet would take between the handholds. The body follows the feet more than the hands on outdoor rock. A handhold that looks unreachable from below might be easy if you know where to put your feet. A reach that looks desperate from the ground might be a simple high step if there is a good foothold at the right height. Think about body position: a sidepull means you are pulling sideways, which means your feet need to oppose that pull. An undercling means you are pulling up, which means your feet need to push down. The holds tell you the body positions, and the body positions tell you the sequence.
Reading Different Rock Types
Not all rock reads the same. The approach you use on limestone will fail you on granite, and the holds you look for on sandstone do not exist on quartzite. Here is what to look for on the major rock types.
Limestone. The most common sport climbing rock. Limestone is defined by pockets, tufas, and edges. Pockets range from one-finger dots to full-hand buckets. The key to reading limestone is understanding pocket depth. A shallow pocket from the ground might look usable, but if it is only a pad deep, it will feel terrible. Look for the dark spots on the wall: these are usually pockets. The darker the spot, the deeper the pocket is likely to be. Tufas are the elongated features that look like dripping stone. They are usually good holds but can be slick from traffic. Edges on limestone tend to be sharp and positive. If you see a horizontal line on the rock, it is probably an edge you can pull on.
Granite. Granite climbs are defined by crystals, cracks, and slabs. Reading granite is about finding the crystals. A granite face that looks blank from the ground is rarely actually blank. There are almost always small crystals or edges you can use. The trick is looking for the slight color changes and texture differences that mark a crystal sticking out of the matrix. Cracks in granite are usually obvious, but the size of the crack matters. A thin crack that looks too small for fingers might take tips, which can be enough to get you through a section. Slabs on granite are a confidence game more than a reading game: the feet are usually there, but you have to trust them.
Sandstone. Sandstone offers edges, slopers, and sometimes pockets. The defining feature of sandstone is that the holds change shape over time. A hold that was a jug last season might be a sloper now because it has been worn down by traffic. When reading sandstone, look for the freshest, sharpest edges. Rounded holds on sandstone are usually slopers, no matter how big they look. The best holds on sandstone are the incut edges where the rock has broken along a natural plane. These are the horizontal lines that look clean and sharp.
Volcanic rock. This includes basalt, tuff, and the other volcanic types. Volcanic rock is the hardest to read because it is the most variable. It can have pockets like limestone, edges like sandstone, and features unlike anything else. The key on volcanic rock is to look for the flow patterns. Volcanic rock was once liquid, and the lines where it flowed often create natural holds. Look for horizontal ridges and rounded features that follow the flow direction. These are often positive holds that look like slopers from below but have a lip you can catch.
Common Reading Mistakes and How to Fix Them
The most common mistake is only looking for handholds. Climbers stand at the base and scan for things to pull on. They completely ignore the feet. On most outdoor routes, the feet determine the sequence more than the hands. A reach that looks impossible with bad feet becomes a simple step-through with good feet. Get in the habit of reading the wall from the feet up. Find the footholds first, then figure out what hand positions those feet allow.
The second mistake is assuming the biggest hold is the best hold. Outdoors, the biggest hold is sometimes the worst hold. A massive sloper that looks like a jug from the ground might be completely unholdable because of its angle. Meanwhile, the tiny crimp three feet to the right might be the key to the entire sequence. Do not grade holds by size from the ground. Grade them by shape and angle. A small incut edge is almost always better than a large sloping feature.
The third mistake is not accounting for the angle of approach. When you read a route from the ground, you are looking at it from below. Holds that look positive from below can be negative when you reach them, because you approach them from a different angle. A sidepull that looks great from the ground might be useless when you are actually on the wall because your body position does not allow you to pull on it the way you imagined. Try to visualize yourself on the wall, not just looking at it. Imagine reaching for the hold from the position you would actually be in, not from where you are standing.
The fourth mistake is ignoring the wall angle. A vertical wall with small holds is one thing. A 30-degree overhang with the same holds is a completely different climb. The wall angle determines how much weight is on your hands versus your feet. On vertical terrain, you can get away with worse holds because your feet carry most of your weight. On steep terrain, your hands are doing the work, and every hold needs to be good enough to hold your body weight while your feet search for purchase. Read the angle first, then read the holds in the context of that angle.
The last mistake is giving up on reading too early. Some routes cannot be fully read from the ground. The holds are too small, the angle is wrong, or the features are hidden behind other features. That is fine. Read what you can, identify the sections you cannot see, and commit to figuring those out on the wall. But never skip the reading entirely. Even a partial read is better than no read at all. Two minutes of ground inspection will save you from ten minutes of hanging on the rope, pumped, trying to figure out where to go next while your forearms burn.
Reading rock is not about seeing the future. It is about narrowing the possibilities. The climber who reads well does not know exactly what every move will be. They know enough to eliminate the wrong options before they leave the ground, and that is enough to climb faster, more efficiently, and with less pump than the climber who walks up blindly and hopes for the best. Treat the reading phase as part of the climb, not the warm-up. It is the first and most important move of the route.