Lead Climbing Indoors: The Protocol for Going From Top Rope to the Sharp End
Top rope taught you to climb. Lead climbing will teach you to commit. Here is the complete protocol for making the transition indoors, from clipping to falling to sending.
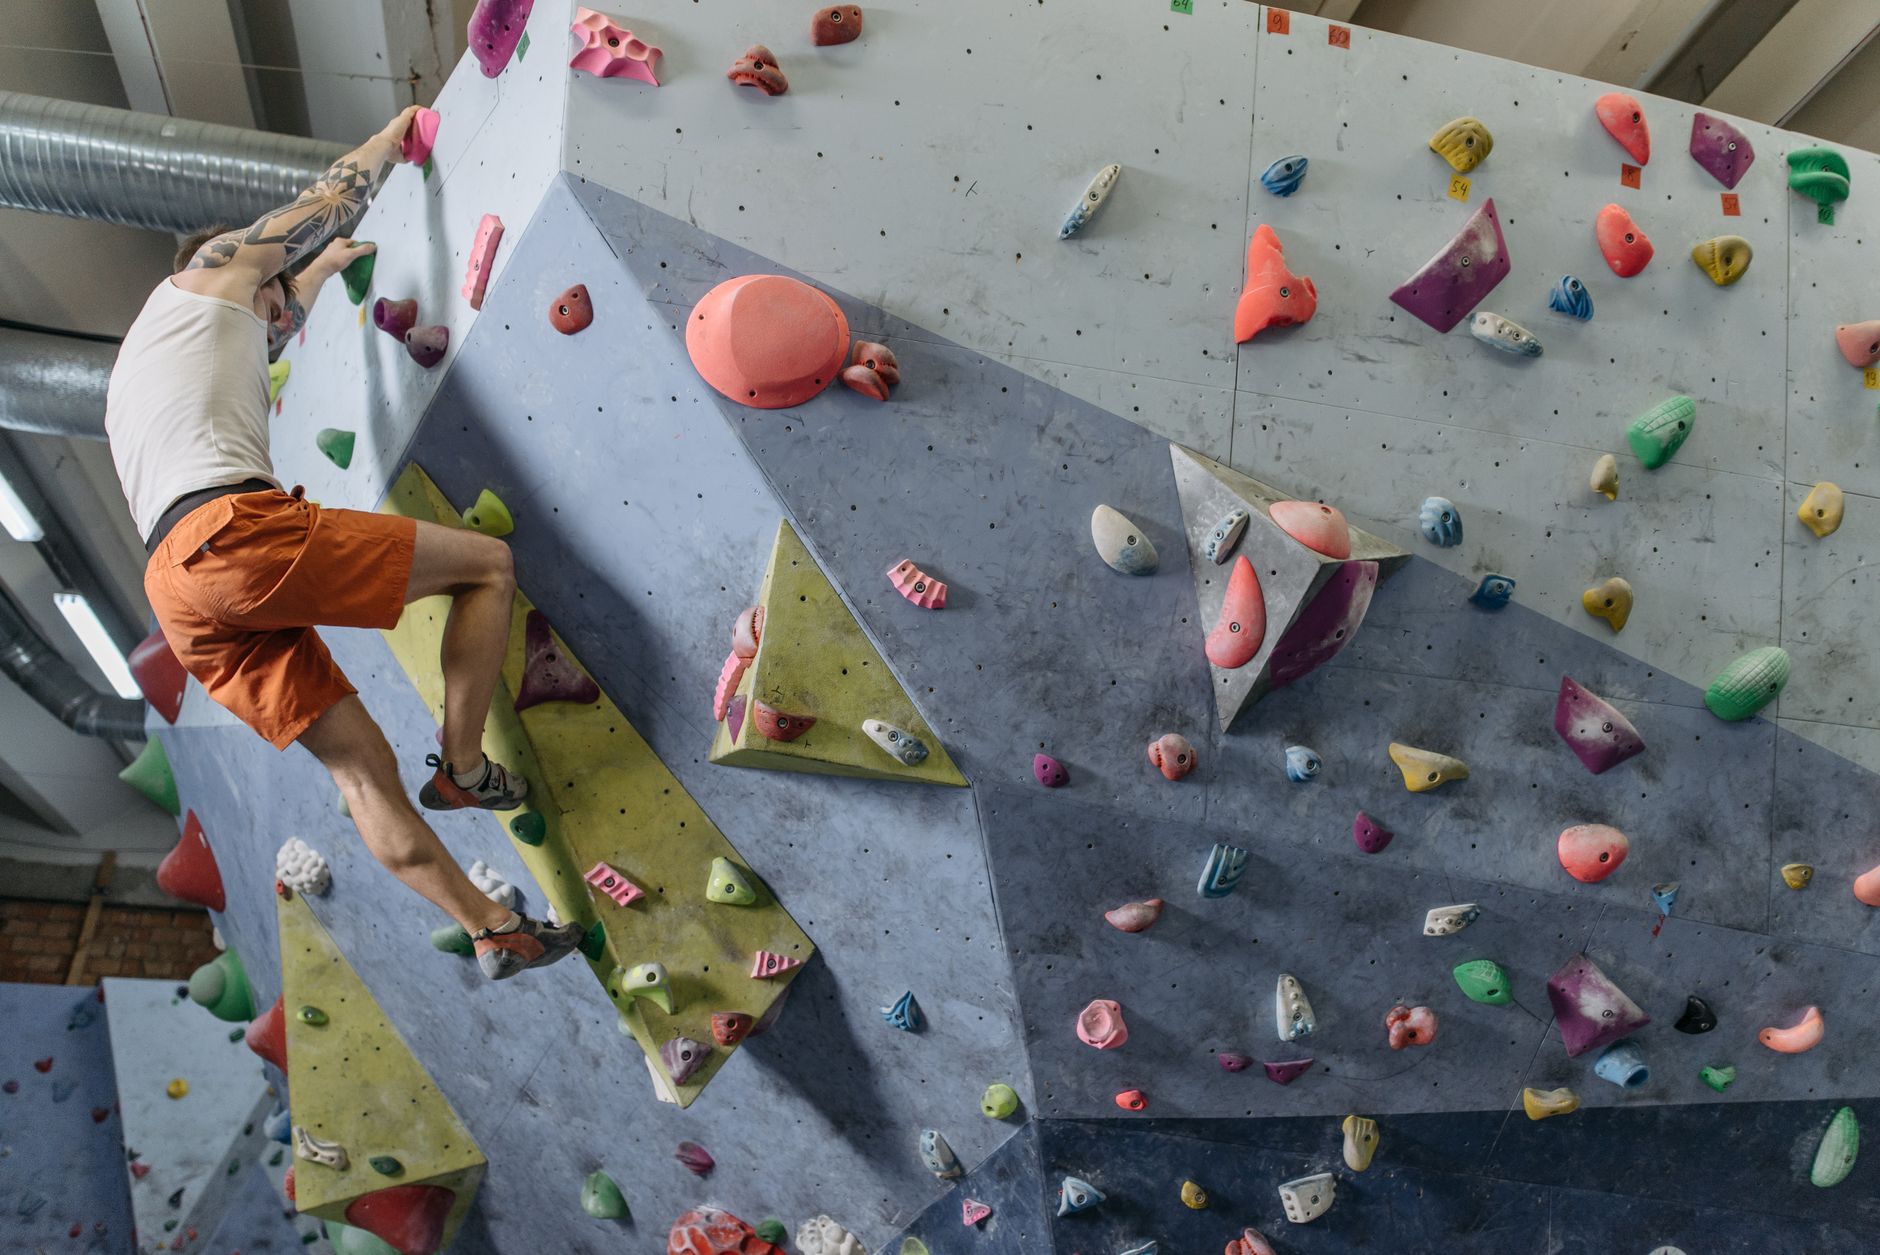
Photo: Pavel Danilyuk / Pexels
Why Lead Climbing Changes Everything
Top rope is practice. Lead climbing is the real thing. On top rope, the rope is above you at all times. You can fall at any point and the catch is immediate, the fall is minimal, and the psychological pressure is close to zero. On lead, the rope is below you. Every clip you make is a commitment. Every move above your last clip is a move you cannot undo without falling. The fall is real, the distance is real, and the fear is real. This is why lead climbing is a fundamentally different experience from top roping, and why making the transition is one of the hardest steps in a climber's development.
The physical difference between top rope and lead is smaller than most climbers think. The moves are the same. The holds are the same. The strength and technique required are the same. The difference is mental. On top rope, you can hesitate, hang, and try moves without consequence. On lead, hesitation costs energy. Hanging means falling. Trying a move you are not sure about means committing to a sequence where retreat is not an option. The mental load of lead climbing changes how you move, how you rest, and how you make decisions on the wall.
Indoor lead climbing is the best place to make this transition. The bolts are placed for convenience, the falls are clean, the routes are designed to be safe, and the environment is controlled. If you are going to take your first lead falls, you want them to be indoors on a well-bolted route with a competent belayer, not outdoors on a runout traverse above a ledge. Make your mistakes inside where the consequences are small, then take those lessons outside when the consequences are real.
Before you start lead climbing, you need to be solid on a few prerequisites. You should be comfortable climbing at least 5.9 on top rope without hanging. You should know how to belay competently, including catching a fall and lowering a climber smoothly. You should understand the basic mechanics of the quickdraw, the carabiner, and the rope. If any of these are shaky, fix them before you get on the sharp end. Lead climbing adds complexity to every system. If your basics are weak, lead climbing will expose those weaknesses in dangerous ways.
Clipping Technique: The Mechanical Foundation
Clipping is the first new physical skill you need to learn on lead. On top rope, you never touch the rope except to tie in. On lead, you manage the rope through every quickdraw on the route. Poor clipping technique wastes energy, increases your fall potential, and can create dangerous situations. Good clipping technique is fast, efficient, and automatic, leaving your attention free for the climbing.
There are two ways to clip a quickdraw: the pinch clip and the snap clip. The pinch clip is for when the rope is hanging on the side of the quickdraw closest to your body. You pinch the rope between your thumb and index finger, push it up into the carabiner, and your thumb snaps the gate open while your fingers push the rope through. The snap clip is for when the rope is on the far side of the quickdraw. You reach across the quickdraw, hook the rope with your middle finger, and snap it into the carabiner from the outside. Both techniques need to be practiced until they are automatic. The worst time to figure out how to clip is when you are pumped out of your mind on the third bolt of a route at your limit.
Practice clipping on the ground. Hang a quickdraw from a bolt on the wall, stand on the ground, and practice clipping with both hands, both techniques, until you can do it without looking. This takes about thirty minutes of focused practice and will save you from hundreds of wasted clips on the wall. The goal is to clip without thinking about it, the same way you tie your figure-eight without thinking about the steps.
Clip from good holds whenever possible. This is the most common mistake new lead climbers make. They climb past a good rest with a perfect clipping hold, keep moving to a worse position, and then try to clip from a marginal hold while pumped. The clip position should be chosen before you get there. Look at the route from the ground. Identify the good holds near each bolt. Plan to clip from those holds. If the best hold is below the bolt, clip down. If it is above, clip up. The bolt position does not dictate your clipping position. The holds do.
Watch the rope position relative to the quickdraw. The rope should always run through the carabiner in a way that keeps the gate of the carabiner facing away from the wall. If the gate faces the wall, the rope can unclip itself in a fall if the carabiner gets pressed against the wall. This is called back-clipping and it is a serious safety issue. The standard rule is: the rope comes from the belayer, goes through the front of the carabiner, and exits toward you, the climber. If you clip it backwards, fix it immediately. Do not climb past a back-clipped draw.
Falling: The Skill Nobody Wants to Practice
You will fall on lead. This is not a prediction. It is a certainty. Every lead climber falls. The question is not whether you will fall but how you will handle it when it happens. If you have never practiced falling, your first real lead fall will be terrifying. If you have practiced falling, it will be uncomfortable but manageable. The difference is entirely about exposure. The more you fall, the more normal it becomes, and the more you can focus on climbing instead of on not falling.
Practice falls in a structured progression. Do not just jump off the wall on your first lead climb and hope for the best. That is how you get hurt. Follow this protocol.
Step one: top rope falls. Before you ever get on lead, practice falling on top rope. Climb up five meters, let go without warning, and let the belayer catch you. Do this ten times. The goal is to get comfortable with the sensation of falling and being caught. Pay attention to how the rope stretches, how the catch feels, and how your body moves through the air. Most climbers find that top rope falls are surprisingly soft once they stop anticipating them.
Step two: lead falls above the bolt. Get on a lead route that is well below your limit. Climb to the second or third bolt, clip it, and climb one or two moves above it. Then let go. The fall will be short, the rope will catch you, and the swing will be minimal. Do this five times at the second bolt, five times at the third bolt, and five times at the fourth bolt. By the fifteenth fall, the fear will be noticeably reduced. This is your brain learning that the system works.
Step three: lead falls at your limit. Now try falling on a route at your actual climbing grade. The holds are smaller, the pump is real, and the mental pressure is higher. Climb until you fall naturally, meaning you come off because you cannot hold on, not because you decided to let go. This is the most realistic falling practice because it simulates the actual scenario you will face on a hard route: you are pumped, you are committed, and you come off unexpectedly. The first time this happens on lead, it will feel like a big deal. By the fifth time, it will feel like part of the process.
When you fall on lead indoors, there are a few rules that keep you safe. Never fall with the rope behind your leg. If the rope runs between your leg and the wall, a fall will flip you upside down and you can hit your head on the wall. Always check that the rope is in front of your legs before committing to a move above the bolt. Never grab the rope during a fall. Your instinct will be to grab the rope to stop yourself. This is dangerous because you can get your fingers caught in the quickdraw or the belay device. Let the rope do its job. Never fall with your arms outstretched toward the wall. Keep your hands up and your body slightly away from the wall so you do not scrape your hands or arms on the way down. And communicate with your belayer before a hard move. A quick "watch me" tells the belayer to be ready for a fall, which means a softer catch.
Building a Lead Climbing Practice
The transition from top rope to lead takes about four to six weeks of consistent practice if you approach it systematically. Here is a sample progression for a climber who is comfortable at 5.10 on top rope and wants to lead climb at the same grade.
Week one: clipping practice and easy leads. Spend one session practicing clipping on the ground. Spend two sessions leading routes that are two grades below your top rope limit, about 5.8. The goal is not to get pumped. The goal is to learn the mechanics of clipping, the rhythm of leading, and the flow of moving between bolts without stopping to think. These should feel easy. If they do not, drop down another grade.
Week two: fall practice and moderate leads. Spend one session doing the falling progression described above. Spend two sessions leading routes one grade below your limit, about 5.9. Start taking intentional falls on these routes to build comfort. By the end of this week, you should be able to climb above the bolt without excessive fear.
Week three: pushing the grade. Lead routes at your top rope limit, 5.10. You will fall on some of these. That is the point. The goal this week is to try hard on lead and accept that falling is part of the process. If you are not falling, you are not trying hard enough. If you are falling on every route, drop down a grade and build back up.
Weeks four through six: consolidation. Lead climb two to three times per week at or near your limit. Mix in fall practice once a week. By the end of week six, leading should feel normal. The fear will not be gone, but it will be managed. You will be able to focus on the climbing instead of on the rope. This is when lead climbing becomes fun instead of stressful.
The biggest trap in the transition to lead climbing is avoiding falls. Climbers who never practice falling build up fear over time because every lead climb carries the anxiety of the unknown. What will the fall feel like? How far will I go? Will the catch be clean? The only way to answer these questions is to fall. Repeatedly. In controlled conditions. With a belayer you trust. Every fall you take reduces the mental load of the next one. This is not recklessness. It is preparation.
Lead climbing is not an extreme sport. It is a discipline with rules, techniques, and a structured progression. Learn the mechanics of clipping. Practice falling until it is boring. Build your confidence on easy routes before pushing your grade. The climbers who get hurt leading are the ones who skip steps, not the ones who take the transition seriously. Take it seriously. The sharp end is where climbing gets real, and you want to be ready for it.


